Why You Should Check the Rod Guide - Hidden Problems
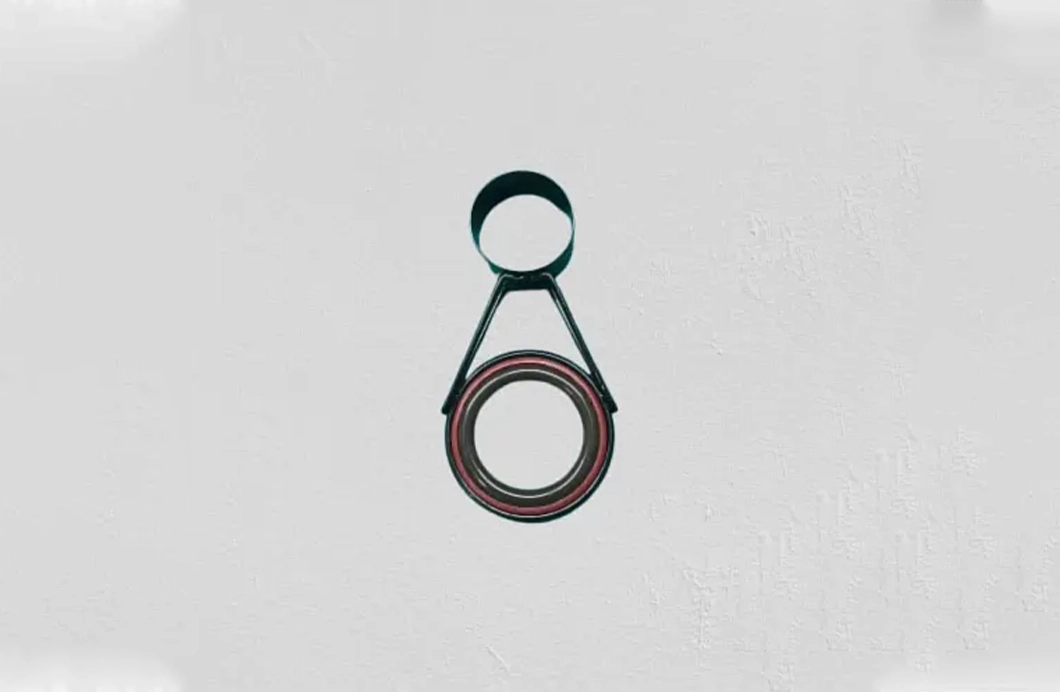
Fishing rod guides play a key role in the performance of your rig. Although at first glance they look solid and durable, with...
read more
New promotions and sales coming soon
New products coming soon
 EN
EN