Telescopic rods have thinner and more sensitive segments than single-piece models, so it is important to know how to properly replace the guides on a telescopic rod.
If the guides are not replaced correctly, the following may occur:
✔ Uneven load – which reduces the strength of the rod
✔ Damage to interior walls – due to excessive force or incorrect gluing
✔ Impaired throwing performance – if the guides are not properly aligned
That's why it's crucial to be patient, precise, and use the right tools.
What Do You Need to Replace Guides?
Before you start, prepare:
Tools:
- Tweezers (for grabbing small parts)
- Mechanical hair dryer (for heating the glue)
- Thin steel rod (for easier extraction)
- Soft surface (so you don't scratch the stick)
Materials:
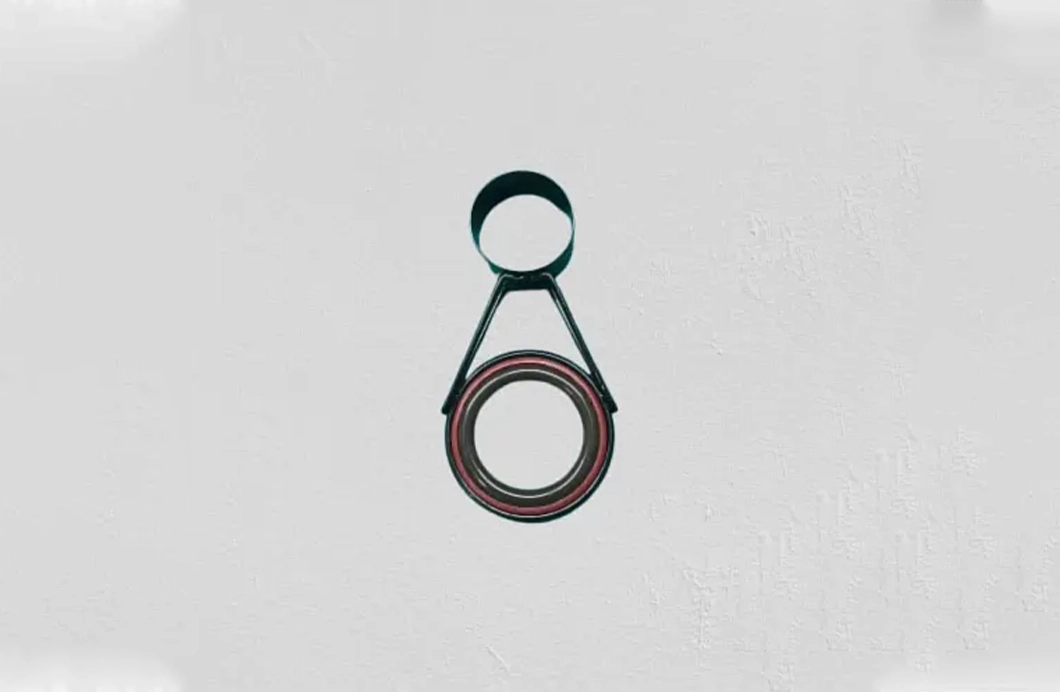
- New guide (of the appropriate diameter) You can find them with us!
- Epoxy glue (two-component glue)
- Rubbing alcohol (70% or higher)
- Sandpaper (fine grain, 600 grit)
Step-by-Step Replacement Procedure
1. Removing the Old Guide
- Heat the area around the guide
- Use a dryer on low temperature (60-70°C) and heat for 15-20 seconds.
- Do not overheat – graphite parts can be damaged!
- Gently pull out the guide
- Use tweezers or a thin steel rod to loosen it.
- If it is stuck, apply even pressure until it gives way.
- Clean the surface of the rod
- Remove glue residue with alcohol and sand the unevenness down fine.
2. Disassembling the Telescopic Pole (if necessary)
- Unscrew the bottom cap (foot).
- It is located at the bottom of the rod and secures the segments.
- Gently unscrew it in the direction counterclockwise.
- Pull out the segments one by one
- Hold the rod vertically and slowly pull each section down.
- If it is stuck, gently rotate left and right until it gives way.
- Arrange the segments in order
- Mark them with a pencil if necessary, so as not to confuse the order.
3. Setting Up a New Guide
if necessary, replace the rod section first as you will not be able to do this after installing the guide
- Check size and alignment
- New guide needs to fit perfectly to the diameter of the rod.
- Apply glue
- Use minimal amount of epoxy so that it doesn't spill into the rod.
- Place the guide and align it
- Clean off excess glue
- Wipe with a cloth before it hardens.
4. Reassemble the Rod (pay attention to the order)
- Insert segments back
- Slowly slide them in until they click into position.
- Lock the bottom cap
- Screw the foot and check if the rod stretches and folds smoothly.
- Perform a nylon line test
- Check that the nylon runs smoothly through all guides.
When to go to Repair Shop?
If you notice:
⚠️ Cracks in the rod after disassembly
⚠️ A guide that doesn't hold firmly despite the glue
⚠️ Damage to internal parts
Conclusion
Replacing the guides on a telescopic rod is not complicated, but it does require precision. In our web store you can find a large number of rod tip guides and ceramic guides for telescopic rods on sale.
By using the right tools and patiently following the steps, you can extend the life of your rod and ensure optimal performance. You can watch one of the many videos on how to do it at this link.
Find a wide range of fishing tools in our web store!

 EN
EN